Building Scalable Microservices with Amplication, GraphQL, MongoDB, and Kafka
A Comprehensive Guide to Harnessing Amplication for Scalable Microservices
Introduction
Microservices is an architectural approach where software is decoupled and composed of small services or modules that are independent and communicate with one another over APIs. Each module supports business logic and manages its own database. Because each service is decoupled from the other, it can be isolated, maintained, and managed independently. If a service crashes or experiences downtime, others will continue to work.
You can rebuild, retest, restart, and redeploy the crashed service without jeopardizing the entire application.
Faults in a microservices application are easily detected and isolated. Microservices require less build time, have reusability potential, are easily scalable, and can deploy with container technologies like Docker. Additionally, services are decentralised, specialised, and autonomous.
On the other hand, monolithic applications are difficult to isolate and troubleshoot. Whenever something goes wrong, the entire application is affected. This makes it difficult to scale compared to microservices applications.
In this article, you will learn how to build microservices with GraphQL, MongoDB, and Kafka using Amplication to generate your application and build it many times faster.
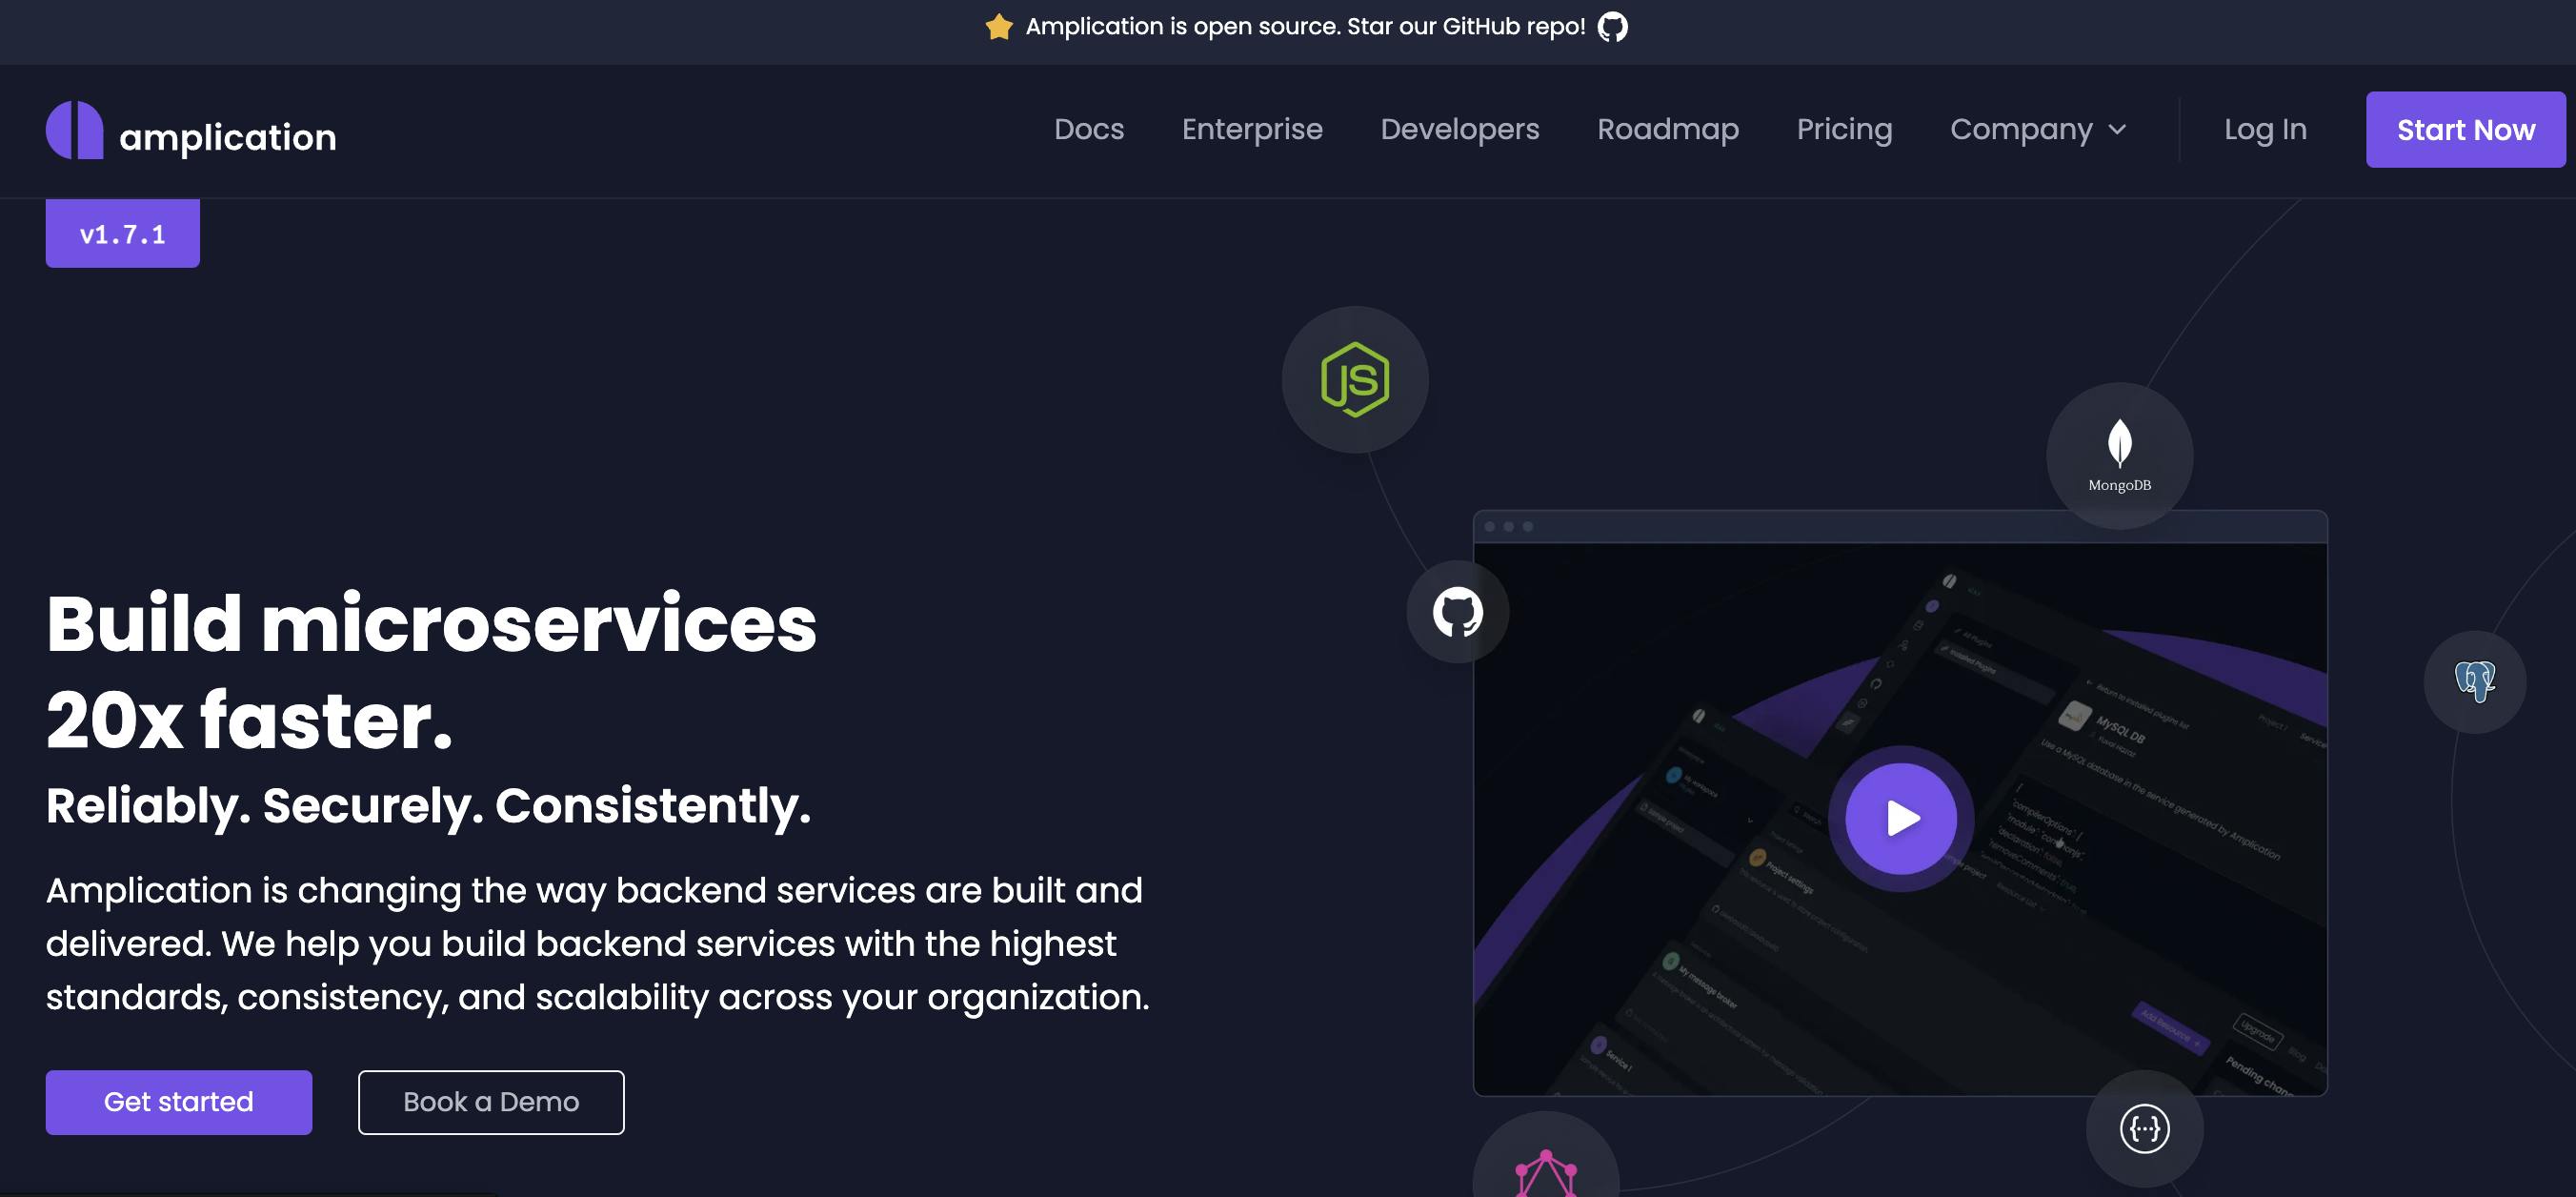
Amplication is a tool for building quality Node.js applications better and faster.
Building Microservices Faster and Better
Tools to generate microservices exist to accelerate and simplify the development of microservices-based applications, avoid repetitive tasks, reduce boilerplate code, and enforce development best practices by promoting code consistency and standardisation within your application.
Building a microservices architecture from scratch requires additional development effort as developers have to manually handle tasks like boilerplate code, configs, configuring database model & connection, and setting up authentication, etc. These can introduce complexity and also slow down the time to launch.
Tools like Amplication exist to help developers build microservices faster and better without sacrificing performance, security or scalability.
Amplication can help you build microservices by providing you with features such as:
Project scaffolding- Amplication allows you to extend an existing project or scaffold new microservices. It generates the app structure and boilerplate code for a microservice, folder structure, and config files based on your needs.
Code generation- Amplication reduces manual coding effort and ensures consistency across microservices by automatically generating boilerplate and infrastructure code for your microservice. The functionalities generated include REST API endpoints, database access, authentication, role-based permission, entities, etc. These are generated based on your architecture configuration on the Amplication dashboard.
New versions of your application are generated whenever you make changes like data models, roles, plugins, etc. in the dashboard.
Service communication- Amplication allows you to set up inter-service communication. The Kafka plugin is included in Amplication by default. It can be installed in your project and used to communicate between services.
Deployment automation-With Amplication you can connect to CI/CD tools and cloud providers via plugins or generate docker containers, making it easier to deploy microservices consistently and efficiently.
Requirements
To follow this tutorial, you need:
An Amplication account
A basic understanding of Node.js, GraphQL, MongoDB, and Kafka
Docker installed on your machine.
Setting up Your Project with Amplication
Follow these steps to create a project with Amplication.
Sign in to Amplication or create a new account if you don’t have one yet.
Create a service.
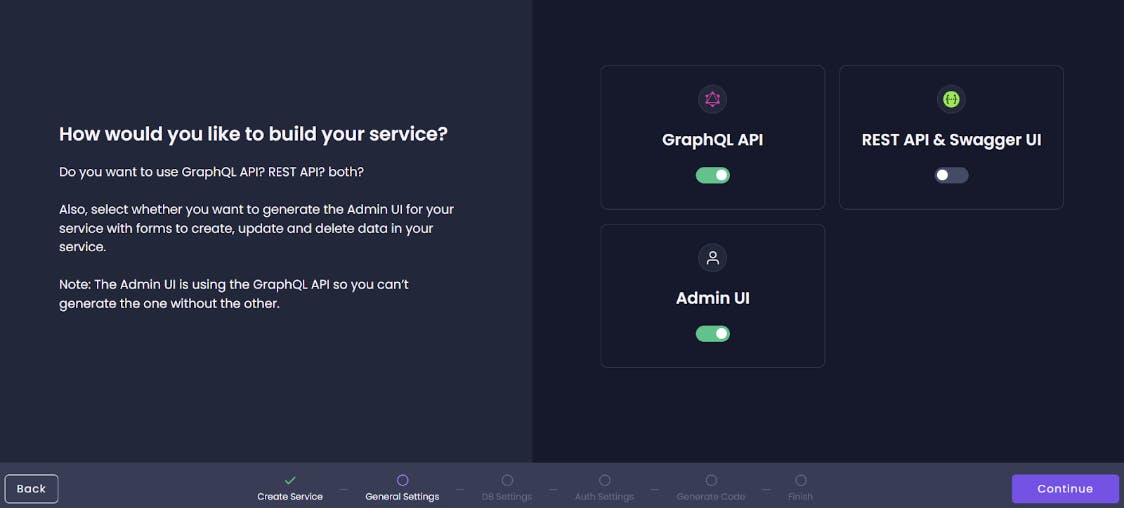
Choose how you want to build your service.
We are using GraphQL API in this article.
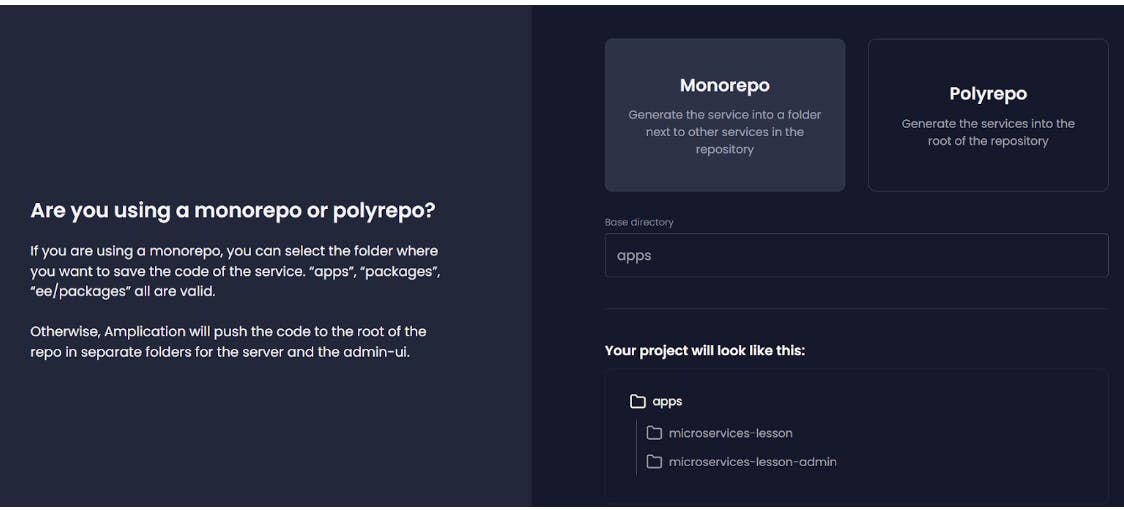
- Select a repo type. We will be using a Monorepo for the purpose of this tutorial.
- Select MongoDB as the database of choice
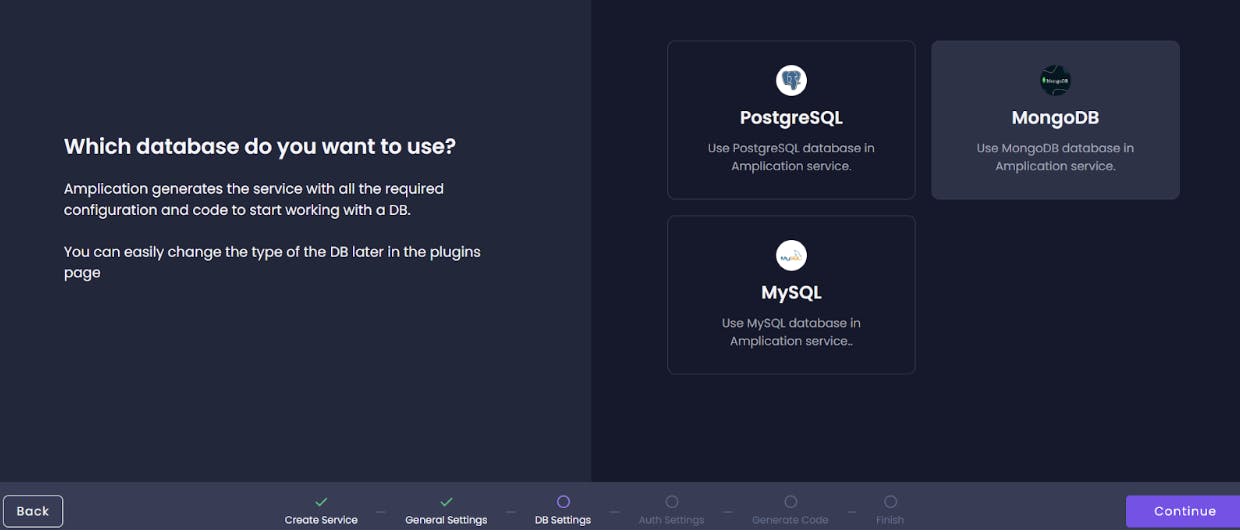
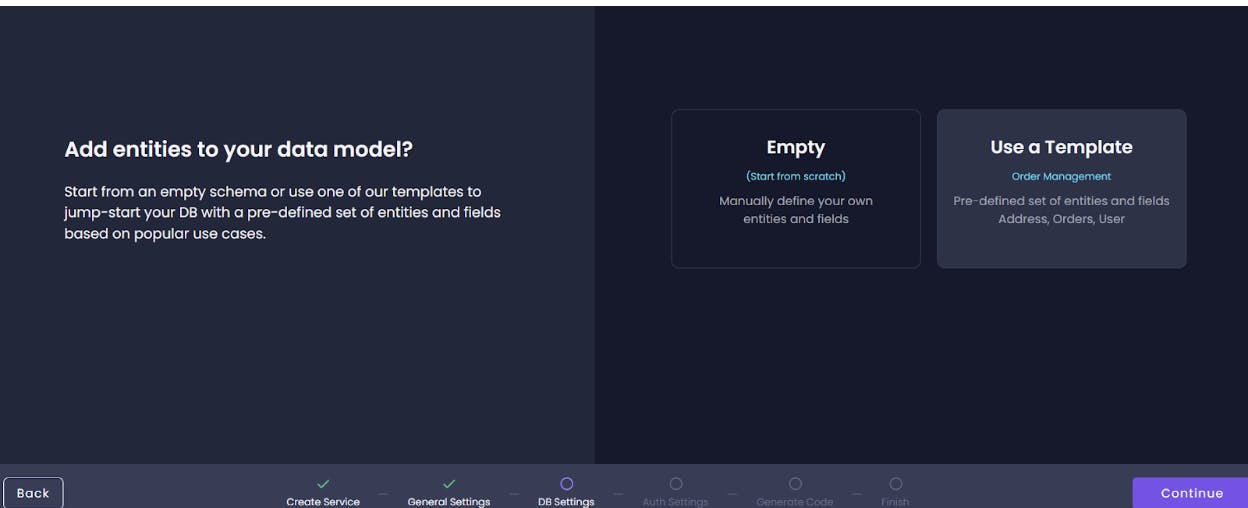
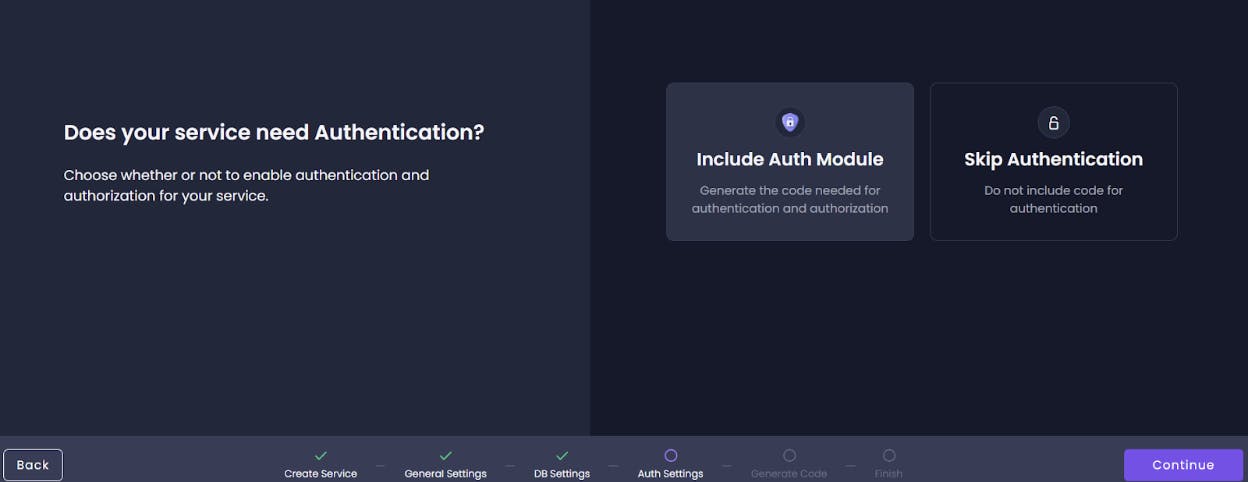
- Add authentication to your project
- After this, Amplication will generate your service.
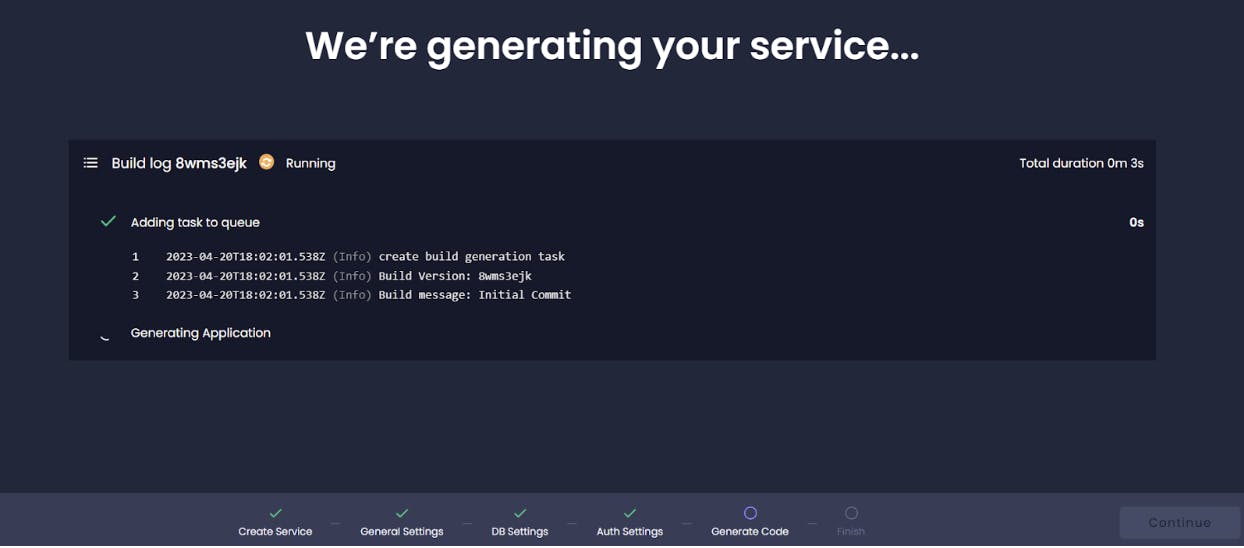
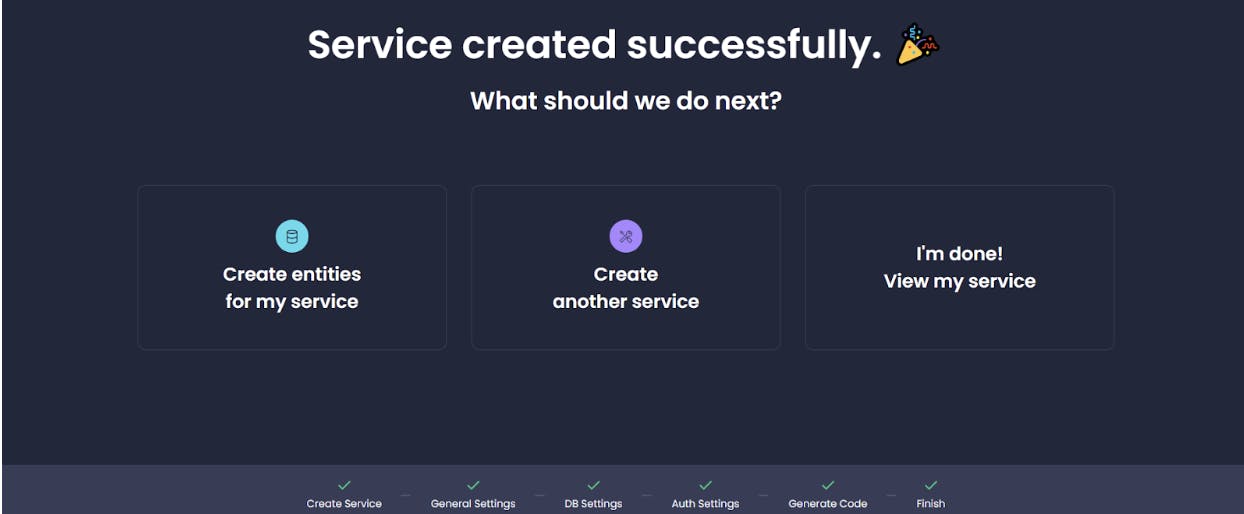
- Your project is set - you can now create entities for your application.
Creating Database Entities
Let’s set up our database by creating entities. For this tutorial, we will create only one entity called Post in addition to the default User entity.
- Navigate to the entities tab on your dashboard. Select Add entity.
- Click Add field to add a field. We will create three fields - Value, Like**,** and UID. The data type for the
Valueis a Multi-Line Text,Likeis aboolean, andUIDis in relation to theUserentity so that we can get posts belonging to a particular user.
Create a Role
Amplication allows you to create roles and grant them permissions. This is important for keeping your application secure by giving permissions or access to users based on their roles. For example, certain privileges like deleting or reading a field or removing a user from a group may be reserved for the admin and restricted to regular users. Allowing CRUD access to every entity can pose a security threat. To create a role, click on the Roles icon and select Add role. Give it any name you want - here, we called it Poster.
Toggle the permission for each command in the User entity so that only User accounts will have the User role. By default, Amplication sets each role to have CRUD access to every entity.
Handling Authentication
Create a User
We want to enable new users to create an account. Recall that we modified permissions so that only users with the User role have access to the User entity to create, read, update or delete entries.
Let’s write the logic to create a new user.
server/src/auth/auth.service.ts
async signup(credentials: Credentials): Promise<UserInfo>{
    const {username, password } = credentials;


    const user = await this.userService.create({
      data: {
        username,
        password,
        roles: ["poster"]
      }
    })

    if(!user) {
      throw new UnauthorizedException("Error creating user")
    }
    const accessToken = await this.tokenService.createToken({
      id: user.id,
      username,
      password
    })
    return {
      accessToken,
      username: user.username,
      id: user.id,
      roles: (user.roles as {roles: string[]}).roles
    }
  }
If signup is successful, it returns the accessToken, username, id, and roles.
We need to set up the signup as a mutation in our GraphQL server by using the @Mutation decorator. Go into server/src/auth/auth.resolver.ts and add the following line of code:
@Mutation(() => UserInfo)
  async signup(@Args() args: LoginArgs): Promise<UserInfo> {
    return this.authService.signup(args.credentials);
  }
Getting a Signed-in User
We want to be able to get the information of a signed-in user. Let’s find the user in the User entity by their username. To do this, add the following line of code to the TokenService class.
server/src/auth/token.service.ts
decodeToken(bearer: string): string {
        return this.jwtService.verify(bearer).username;
    }
Let’s write the logic to get a signed-in user inside the AuthService class.
server/src/auth/auth.service.ts
import { User } from "../user/base/User"


 async me(authorization: string = ""): Promise<User> {
    const bearer = authorization.replace(/^Bearer\s/, "");
    const username = this.tokenService.decodeToken(bearer);
    const result = await this.userService.findOne({
      where: { username },
      select: {
        createdAt: true,
        firstName: true,
        id: true,
        lastName: true,
        roles: true,
        updatedAt: true,
        username: true,
      },
    })


    if(!result){
      throw new NotFoundException(`We couldn't anything for ${username}`)
    }
    return result
  }
The me method decodes the JWT token to get the username and then uses the username to find other information belonging to the logged-in user.
Let’s add the new me method to the AuthResolver class as we did with the signup method.
server/src/auth/auth.resolver.ts
import * as common from "@nestjs/common";
 import { Args, Mutation, Query, Resolver, Context } from "@nestjs/graphql";
 import { Request } from "express"
 import * as gqlACGuard from "../auth/gqlAC.guard";
 import { AuthService } from "./auth.service";
 import { GqlDefaultAuthGuard } from "./gqlDefaultAuth.guard";
 import { UserData } from "./userData.decorator";
 import { LoginArgs } from "./LoginArgs";
 import { UserInfo } from "./UserInfo";
 import { User } from "../user/base/User"


export class AuthResolver {
  constructor(private readonly authService: AuthService) {}
    @Query(() => User)
      async me(@Context('req') request: Request): Promise<User> {
            return this.authService.me(request.headers.authorization);
      }
 }
Making CRUD requests with GraphQL
Signing up via GraphQL
Navigate to the GraphQL playground via http://localhost:3000/graphql and let’s sign up a new user.
mutation signup($credentials: Credentials!) {
    signup(credentials: $credentials) {
      accessToken
        username
    }
  }
Add the account credentials (username and password) to the Query Variables field.
 {"credentials": {
    "username": "janedoe",
  "password": "000000"
}}
Upon successful signup, we receive the accessToken and username as specified in our query. We can also query for other fields like the id and roles.
Logging in via GraphQL
If the login credentials are correct, we want to get the accessToken to use for making future authorized requests.
mutation login($credentials: Credentials!) {
    login(credentials: $credentials) {
      accessToken
    }
  }
Add the credentials to the Query Variables field.
{"credentials": {
    "username": "johndoe",
      "password": "123456"
  }}
Querying for a Signed-in User
Let’s query for the current user and get their username and id.
query me{
  me {
    id
    username

  }
}
Add the authorization token to the HTTP Headers field in the GraphQL playground.
{"Authorization": "Bearer add-your-token-here"}
Create a New Post
Let’s create a new post via GraphQL.
mutation createPost ($data: PostCreateInput!){
  createPost(data: $data){
    value
    like
    id
  }

}
The query variable must contain value because it’s a required field and is not automatically generated.
{ "data": {"like": true, "value": "my first post"}}
Remember to add your token.
Get all posts
Let’s query for all the posts in our database (we only have one at the moment anyway).
query posts($where: PostWhereInput, $orderBy: [PostOrderByInput!]) {
    posts(where: $where, orderBy: $orderBy) {
      value
    like
    id
    }
  }
Setting up Kafka to Communicate Between Services
Kafka is a distributed event streaming platform designed for handling data feeds in real time.
It provides a highly scalable, fault-tolerant, and durable publish-subscribe messaging system. Kafka is widely used in modern data architectures as a backbone for building real-time data pipelines and streaming applications. Kafka is used in log aggregation, event sourcing, stream processing, messaging system, and commit logs.
Key concepts:
Topics: Messages are organized into topics in Kafka. Each topic is a stream of records that can be written to or consumed from.
Producers: Producers are tasked with publishing messages to Kafka topics.
Consumers: A consumer's work is to read records present in a topic
Brokers: Brokers are clusters of servers responsible for storing and replicating messages.
Partitions: a topic is divided into one or more partitions.
Installing the Kafka plugin with Amplication
Amplication provides some plugins that you can use to extend your app’s functionality. One of these plugins is Kafka. Let’s install the Kafka plugin from our Amplication dashboard and begin using Kafka in our application.
Go into the plugins page on your dashboard. Click All Plugins, then proceed to install the Kafka plugin. Commit the changes to Github.
We also need to create a new message broker.
Go to your Amplication dashboard, click Add Resource and select Message Broker from the list.
Add topics
- Click on Connections on the Service dashboard and enable the message broker.
Setting up Kafka Producer
Let’s set up a Kafka Producer in our app. The Producer is responsible for writing messages on Kafka topics.
server/src/kafka/kafka.service.ts`
import { Injectable, OnModuleInit, OnApplicationShutdown } from "@nestjs/common";
 import { KafkaServiceBase } from "./base/kafka.service.base";
 import { Kafka, Producer, ProducerRecord } from 'kafkajs';


  @Injectable()
  export class KafkaService extends KafkaServiceBase implements OnModuleInit,
  OnApplicationShutdown {

    private readonly kafka = new Kafka({
        brokers: ['localhost:9092']
    });

    private readonly producer: Producer = this.kafka.producer()

    //connect producer to our server
    async onModuleInit() {
        await this.producer.connect()
    }


    //produce messages
    async produce(record: ProducerRecord){
        await this.producer.send(record)

     }


     //disconnect producer on application shutdown
     async onApplicationShutdown(){
        await this.producer.disconnect();
     }
}
onModuleInit, our producer connects and then disconnects onApplicationShutdown. Do not forget to add KafkaService as a provider in the KafkaModule.
Create a Kafka consumer service
Let’s set up a consumer service.
server/src/kafka/consumer.service.ts
import {Injectable, OnApplicationShutdown} from "@nestjs/common";
 import { Kafka, ConsumerRunConfig, ConsumerSubscribeTopics, Consumer } from  "kafkajs"


 @Injectable()
    export class ConsumerService implements OnApplicationShutdown{
        private readonly kafka = new Kafka({
            brokers: ['localhost:9092']
        });
        private readonly consumers: Consumer[] = [];


        async consume(topic: ConsumerSubscribeTopics, config: ConsumerRunConfig){
            const consumer = this.kafka.consumer({groupId: "YOUR_KAFKA_GROUP_ID"});
            await consumer.connect();
            await consumer.subscribe(topic);
            await consumer.run(config)
            this.consumers.push(consumer)
        }


        async onApplicationShutdown() {
            for (const consumer of this.consumers){
                await consumer.disconnect()
            }
        }
    }
Create a Kafka Consumer
The consumer will read data inside the topic.
server/src/kafka/kafka.consumer.ts
import {  Injectable, OnModuleInit } from "@nestjs/common";
import { ConsumerService } from "./consumer.service"


@Injectable()
export class KafkaConsumer implements OnModuleInit {
    constructor( private readonly consumerService: ConsumerService){}
    async onModuleInit() {
        await this.consumerService.consume({topics: ["Sender"]}, {
            eachMessage: async ({topic, partition, message}) => {
                console.log({
                    value: message.value?.toString(),
                    topic: topic.toString(),
                    partition: partition.toString()
                })
            }
        })
    }
}
Here, we are logging value, topic, and partition gotten from the topic to the console.
Let’s test our Kafka setup by broadcasting a message when a user logs in.
server/src/auth/auth.service.ts
 export class AuthService {

  constructor(

    private readonly producerService: KafkaService

  ) {}

 await this.producerService.produce({

      topic: "Sender",

      messages: [

        {

          value: "User logged in"

        },

      ]

    })

 }
Run your application
docker-compose up
npm run start
You should get the value, topic, and partition in the console when you log in.
Conclusion
Amplication allows you to build secure, reliable, scalable, and efficient microservices faster and better. The app generated by Amplication is extensible. You can extend the functionality of your app and add more features and business logic.
In the article, you learned how to build a microservice with Amplication using GraphQL, MongoDB, and Kafka. You may extend the functionality of this app to make Kafka communicate between microservices.
That was it for this blog. I hope you learned something new today.
If you did, please like/share this on Twitter, Linkedin, or with your friends or colleagues so that it reaches more people.
If you’re a regular reader, thank you, you’re a big part of the reason I’ve been able to share my life/career experiences with you.
If you found this blog post helpful or interesting, please consider giving Amplication project a star on GitHub.
Shameless Plug
Subscribe to my newsletter to receive monthly updates on my small bets and writing journey! Join over 3400 others!

